

The German Force
4 x 6man Veteran Squads - Assault Rifles
1 x 5man Veteran Squads - Assault Rifles
4 x 5man Regular Squads - Combination of Assault Rifles and Rifles
1x 120mm Mortar, plus spotter
2 x Officer Teams (both +2 Morale)


The British Force
2 x 8man Regular Squads - Bren & Rifles
4 x 5man Regular Squads - Bren & Rifles
2 x MMG teams
2 x 3" Mortar teams, plus spotters
2 x Medics
2 x Officers (+2)
2 x Sniper Teams
Free FO (Forward Artillery Observer)


The Battlefield (German entry end)

(British entry end)

The Scenario was to control both bridges by the end of turn six.
All the FO's and spotters were placed and turn 1 and 2 were both side moving towards their objectives. Turn 2 saw the British FO place his artillery marker down in a bend in the road on the german side (red Counter in the road).
Turn three and it came in as Dave (British) rolled a six so KABOOM, the "arty" comes in. although it only took out two infantry, it succeeded in pinning 5 units,

Even with pins the Veteran units on the German left still advanced an fired, but to little effect.
By turn 4, the Germans recovered enough and took the main road bridge.
The British tried to outflank the German unit on the bridge.

But a small German Vet unit was covering that flank and destroyed the British unit with their Deadly firing Assault Rifles.

Situation, Game turn 4. Germans hold Road bridge and British hold foot bridge.

The German unit on bridge used a rally order and lost all its pins (yellow counters), and next turn would assault the officer across the bridge.
By turn five the British who crossed the foot bridge had been pushed back across the bridge, the MMG, Officer and two units on the road bridge side of the table were destroyed.


The last units of British

Turn six saw the Germans advance on the British right flank from the road bridge and with no British units on , or over the foot bridge, it was a win for the Germans.
Some of the other games at Skirmish


X-Wing


SELWG's San Juan Hill (WIP) 54mm figures


Mick Moore (model painter)

Hornchurch WWII Bolt Action

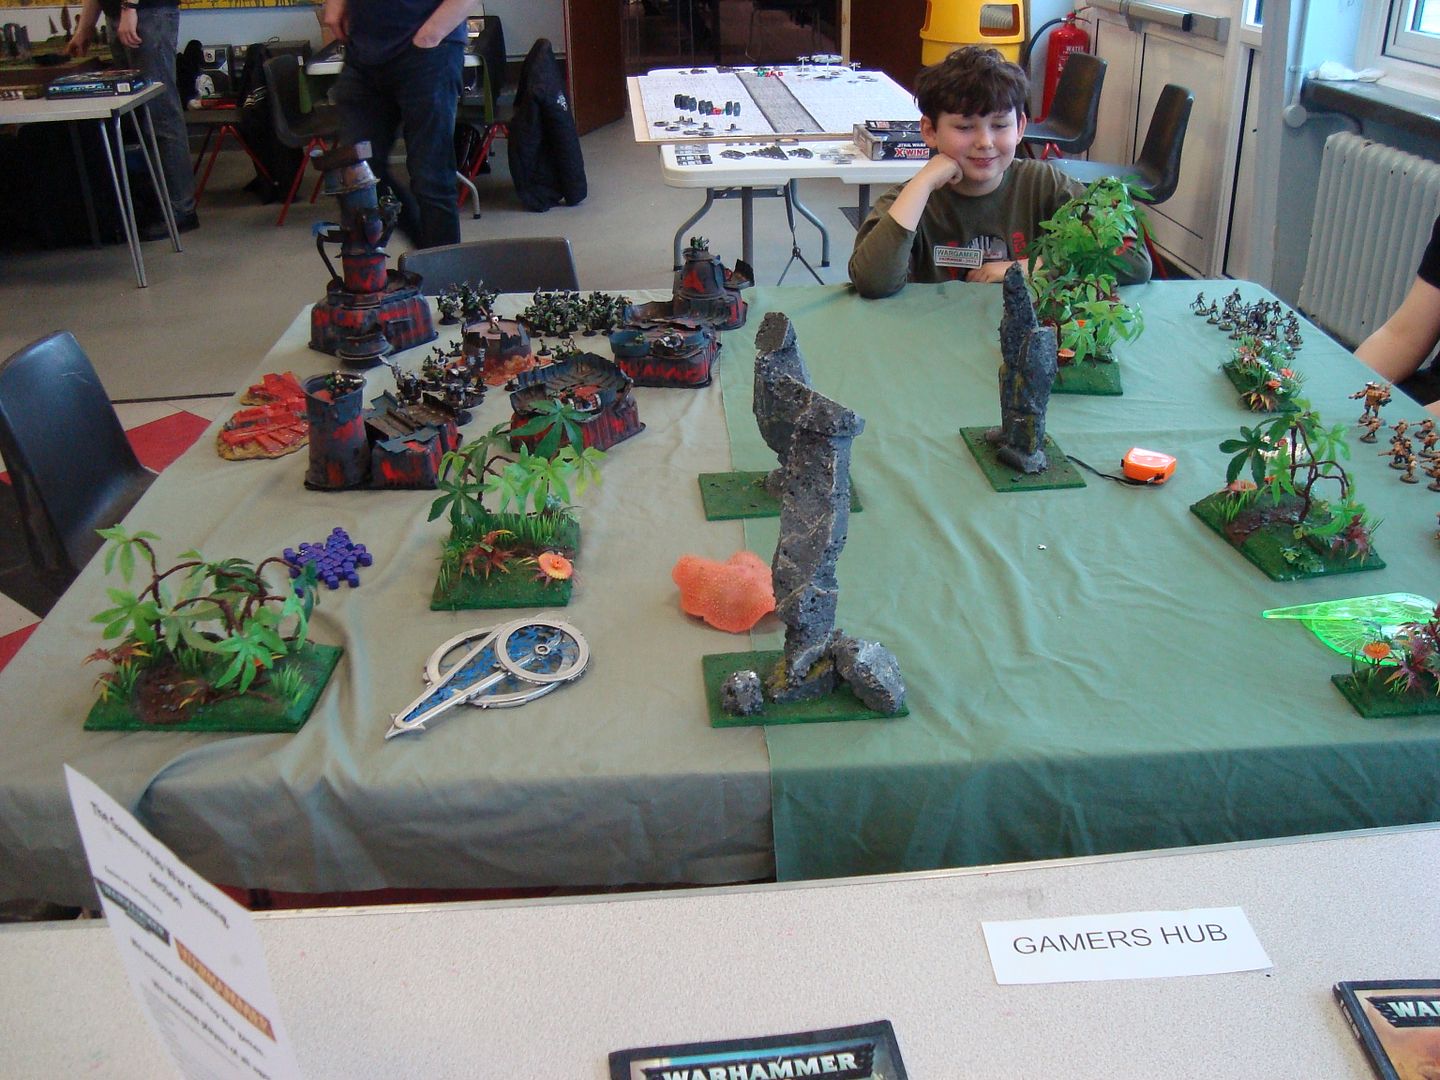
Gravesend Wargamers Guild 40K game

No comments:
Post a Comment